 Weighing
What Is the Minimum Sample Weight and Why It Matters

What is the minimum sample weight? It's the smallest mass that a given balance can still weigh with the required accuracy. Below this limit, results are no longer metrologically reliable: readings enter a range where instrument error is comparable to the sample itself.
A common mistake: looking only at readability. A balance with 0.1 mg readability doesn't guarantee a valid result on a 2 mg sample. There's a calculation separating "the instrument displays numbers" from "the result is fit for the method" — and many labs skip it. Many people google "what is minimum sample weight" only after their method fails.
Next, we'll cover where minimum sample weight comes from, how to calculate it for your task, and what to do if the required mass is below the limit. We'll also show you how to check your balance in 15 minutes.
What Minimum Sample Weight Means in Plain Terms
Minimum sample weight is the threshold below which a balance cannot deliver its stated weighing accuracy. It's determined not by guesswork or by nominal readability, but by calculation from repeatability and method requirements.
Picture two situations. You weigh 50 g of salt on a balance — an error of 0.001 g is negligible within tolerance, all fine. On the same balance you weigh 5 mg of a standard — and the same absolute error becomes a significant fraction of the sample. Hence the rule: the smaller the mass, the higher the demands on the instrument.
A balance's minimum sample weight is always tied to conditions and method tolerance. The same model in a quiet room versus near a fume hood will give different values. That's why in pharmacopoeial and analytical practice it's recorded in the protocol along with the balance model and working room.
For labs in Tashkent this is especially relevant: in summer the air conditioning runs harder, drafts from ventilation are stronger, and weighing repeatability can deteriorate. Minimum sample weight should be re-evaluated when changing rooms or seasons.
How Minimum Sample Weight Differs from Readability and Error
Three quantities are often confused, though they answer different questions. Readability (scale interval) is the step at which the instrument displays results. Weighing error is how much a reading can deviate from true mass. Minimum sample weight is the mass at which error still fits within method tolerance. The pair "minimum sample weight and readability" is covered in the very first operator training because confusion here is costly.
| Concept | What it means | Example on an accuracy-class balance |
|---|---|---|
| Readability | Step of display readings | 0.1 mg, 1 mg, 0.01 g |
| Repeatability | Scatter across repeated weighings | Standard deviation over a series of measurements |
| Error | Deviation of reading from truth | Nominal tolerance or verification result |
| Minimum sample weight | Smallest mass suitable for the method | Calculated from repeatability and tolerance |
Readability is a convenience for reading, not a guarantee of accuracy. A balance with 0.01 g steps and one with 0.1 mg steps can have different repeatability, and it's repeatability that sets minimum sample weight.
Error is made up of several components: non-linearity, hysteresis, eccentricity. Manufacturers standardize them per OIML and GOST OIML R 76-1, but for practice the total repeatability under real conditions matters more.
How the Manufacturer Determines Minimum Sample Weight: Repeatability and Drift
The calculation is based on the standard deviation of repeatability. The manufacturer runs a series of weighings with a control weight, computes the scatter, and derives the minimum sample weight for a given tolerance. The more stable the sensor, the lower the threshold.
The second factor is zero drift. Over a series, readings can "creep" due to temperature changes and internal processes. Drift adds to repeatability, and minimum sample weight ends up higher than from standard deviation alone.
Mettler Toledo and Sartorius manuals usually provide a table: repeatability at various loads and calculated minimum sample weight at 0.1% and 1% tolerance for each model. These are guidelines, not constants for your lab.
The nominal value gives a starting point. During calibration and verification, real repeatability is checked on site and may differ from the catalog. For methods with small samples, this step is not skipped.
Why Minimum Sample Weight Depends on Conditions: Vibration, Drafts, Temperature
A balance is a highly sensitive mechanical system. Any external influence affects reading scatter — and therefore minimum sample weight.
- Vibration from compressors, centrifuges, or nearby instruments increases repeatability.
- Drafts from air conditioning or doors shift readings, especially at small masses.
- Temperature fluctuations cause zero drift and require longer warm-up.
- Static electricity on plastic ware distorts results on analytical balances.
DIY check: warm up the balance per instructions → place a weight or control sample → take 10 consecutive readings → calculate the scatter. If it's higher than nominal, the minimum sample weight at your workplace is greater than the catalog value.
Place the balance on an anti-vibration table away from doors, ventilation, and heaters. For analytical models, use the draft shield and don't open the door during a measurement series.
Capacity also matters: if you work near the upper limit of the range, check whether repeatability deteriorates. Some models have higher scatter at the edges of the range than in the middle.
How to Calculate Minimum Sample Weight for Your Method
The universal formula links repeatability and method tolerance. If the standard deviation of repeatability is s and the permissible relative error is p%, then minimum sample weight is approximately 100 × s / p, multiplied by a coefficient depending on the adopted confidence level.
Example: repeatability s = 0.1 mg, method tolerance 0.1%. Then minimum sample weight is around 100 mg. If the same instrument must work at 1% tolerance, the threshold drops to tens of milligrams. That means for a 10 mg sample you need a balance with repeatability noticeably better than 0.1 mg.
Step-by-step:
- Take the tolerance from the method or regulatory document.
- Find your model's repeatability at the working load.
- Plug the values into the formula to get minimum sample weight.
- Compare with the actual sample in your procedure.
- Validate the calculation in practice with a series of weighings.
Record the calculated value in the protocol. When choosing a new model, look at repeatability, not marketing claims of accuracy. For analytical balances, calculating minimum sample weight is especially important since they work with small masses.
If you prefer relative values, take the method tolerance in percent and divide twice the repeatability in milligrams by it — you'll get a rough minimum sample weight in milligrams. This quick estimate takes a minute and immediately shows whether the instrument is suitable.
Analytical and Precision Balances: Where the Applicability Boundary Lies
The boundary is defined by the task, not the instrument class. Precision balances typically have readability from 1 mg to 0.1 g and are suitable for samples from tens of milligrams to kilograms. Analytical balances with 0.1 mg readability and below are designed for small samples and standards.
| Task | Sample guideline | Balance type |
|---|---|---|
| Production raw materials | grams and above | Precision, readability 0.01–0.1 g |
| Solution preparation | tens to hundreds of mg | Precision or analytical |
| Standards and validation | units to tens of mg | Analytical, readability 0.1 mg and below |
| Micro samples | less than 1 mg | Micro and ultra-micro balances |
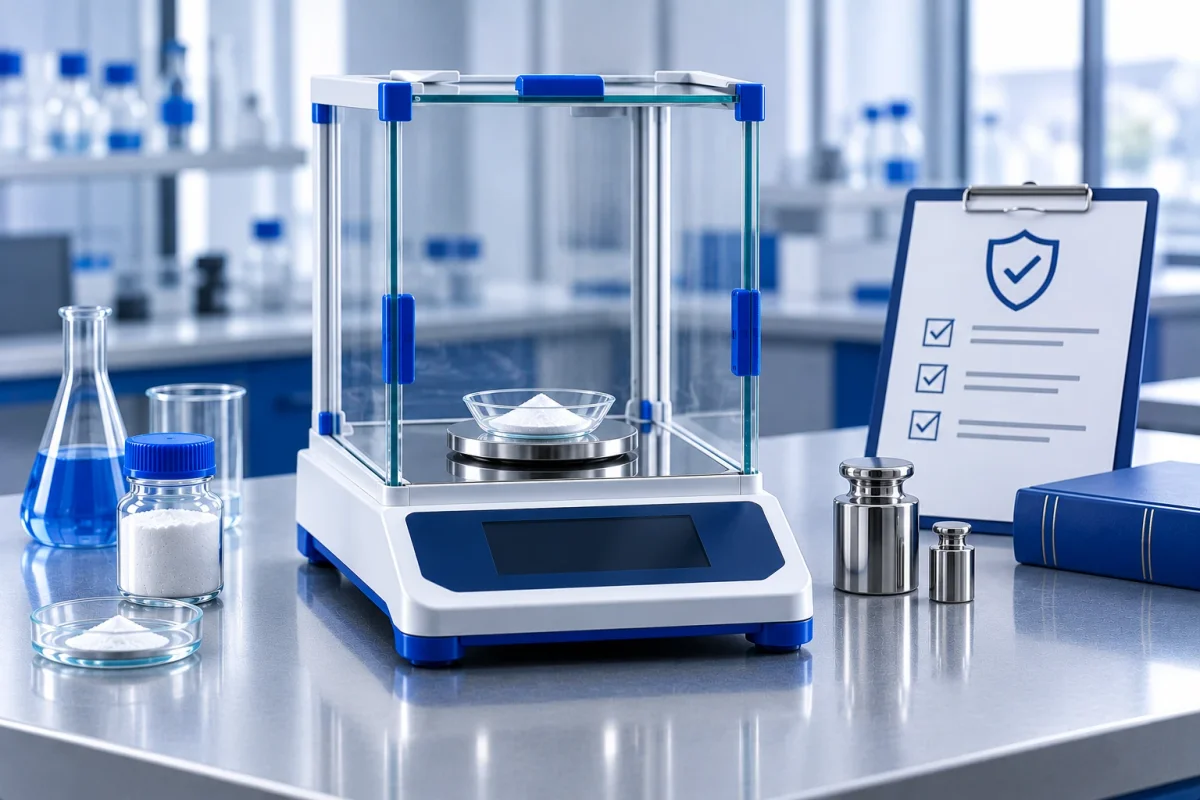
Analytical balances require a draft shield, anti-vibration support, and stable temperature. Precision balances are easier to operate but their repeatability is insufficient at small masses.
If the method requires a 10 mg sample, compare the specific model's repeatability at around 10 mg load with the method tolerance. Only then will you know if the instrument is suitable. Laboratory balance accuracy is matched to the task, not the price.
Catalog accuracy is stated for ideal conditions. At the workplace, external factors add on, and real accuracy ends up lower than nominal. Plan a margin if you work at the limit.
What to Do If the Required Sample Is Below the Minimum
It's a typical situation: the method requires 5 mg, but the balance gives reliable results only from 50 mg. There are several paths, each with a cost.
| Mistake | What it risks | How to avoid |
|---|---|---|
| Weighing below minimum sample weight | Invalid result, unreliable method | Recalculate tolerance or change balance |
| Ignoring room conditions | Increased repeatability and hidden accuracy loss | Control weighing series before work |
| Looking only at readability | Instrument unsuitable for small samples | Compare repeatability at working load |
The first option is to increase the sample and prepare a more dilute solution. This is acceptable if the method allows. The second is to switch to a balance with better repeatability. The third is to use intermediate dilution from a more concentrated solution.
Sometimes moving the procedure to a room with more stable conditions helps. But if the gap between method and instrument is large, replacing the balance is unavoidable.
Weighing Small Samples: Practical Tips
Weighing small samples differs from routine balance work. At masses of a few milligrams, every detail matters: what you use to take the sample, how you place it on the pan, how long you wait before reading.
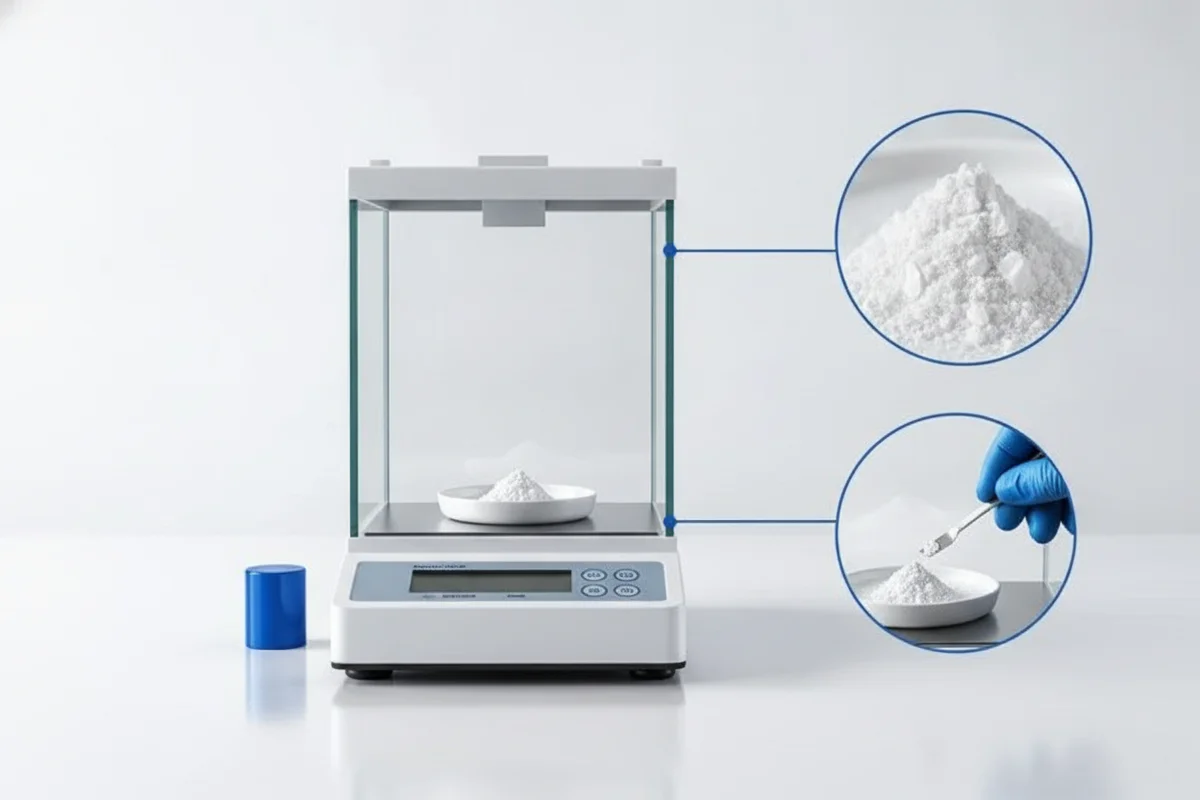
Take the sample with a spatula or spoon made of anti-static material. Plastic ware accumulates static charge, and powder "jumps" onto the pan unevenly. Glass containers made of borosilicate glass 3.3 dissipate charge faster and don't cling to the walls.
Place the sample in the center of the pan, near the center of gravity. Shifting toward the edge causes eccentricity error: on analytical balances it can reach several tenths of a milligram. Close the door before the instrument starts stabilizing and don't open it until reading.
Wait for full stabilization: the indicator should stay still for 3–5 seconds. At small sample weight, a quick reading on a "nearly stopped" display gives an error of tenths of a milligram, which for a 10 mg sample amounts to percent.
- Use anti-static ionization if working with powders below 20 mg.
- Keep a control weight of the same order as your working sample nearby.
- Don't weigh in airflow from air conditioning or exhaust.
- Record the result immediately: a second reading after opening the door is invalid.
For samples below 10 mg, switch to a balance with 0.01 mg readability or a micro balance. On standard analytical balances such masses are below the limit, and a metrologically reliable result cannot be obtained even if the display numbers look plausible.
How Minimum Sample Weight Relates to Method Tolerance
Method tolerance defines what relative error you're willing to accept. Minimum sample weight depends directly on it: the tighter the tolerance, the higher the threshold. In pharmacopoeia, quantitative analysis often uses 0.1% tolerance, in production control 0.5–1%, in educational work up to 5%.
Method tolerance is taken not from thin air but from a regulatory document: pharmacopoeial monograph, GOST, internal SOP. If the document doesn't specify tolerance explicitly, it's agreed with the customer or the lab's metrology service. A recorded value protects against disputes during audits.
| Method tolerance | Where it's found | Minimum sample weight at s = 0.1 mg |
|---|---|---|
| 0.1% | Quantitative analysis, pharmacopoeia | about 100 mg |
| 0.5% | Production control | about 20 mg |
| 1% | Process samples | about 10 mg |
| 5% | Educational and exploratory work | about 2 mg |
The table shows why "the same balance" works for one task and not another. Minimum sample weight is not a property of the instrument in isolation. It's a joint characteristic of the balance and the tolerance you work with.
When switching to a new method, recalculate minimum sample weight. An old calculation for a different tolerance is misleading and usually understates the threshold.
Calibration, Verification, and Balance Control in the Lab
Minimum sample weight remains valid as long as the instrument confirms its stated repeatability. Over time the sensor wears, conditions change, and the threshold shifts. Control keeps the calculation current.
Internal control: daily zero check and control weight check, periodic weighing series. External: calibration and verification per GOST OIML R 76-1 and OIML R 76. Frequency depends on workload and industry requirements, recorded in the lab schedule.
- Daily: zero check, control weight.
- Monthly: weighing series, repeatability calculation.
- Per schedule: calibration and verification of laboratory balances.
- After repair or relocation: unscheduled check.
Calibration documentation must specify repeatability and the calculation of the minimum sample weight for your working conditions. When choosing new balances, pay attention to laboratory equipment brands that provide calculation methods and service support.
Common mistakes when working with minimum sample weights
Most problems with unreliable results stem not from poor balances but from operator habits. Below are the most frequent mistakes and how to avoid them.
| Mistake | Consequence | How to avoid |
|---|---|---|
| "The balance reads 0.0001 g, so I can weigh 0.5 mg" | Result is within noise; relative error 10–50% | Check the sample against the specified minimum weight, not the readability |
| Weighing without closing the draft shield | Scatter increases 2–5 times, the minimum weight "creeps" upward | Close the door before every reading, wait 3–5 s for stabilization |
| Taring the container once for the whole day | Zero drift of 0.2–1 mg per shift distorts small samples | Re-tare before each series, especially for samples below 100 mg |
| Placing the balance near a fume hood or air conditioner | Readings fluctuate by 1–3 mg, repeatability worse than specified | Choose a location free of drafts and vibrations, on a massive anti-vibration table |
| Weighing a hot or cold sample | Convection currents cause errors up to several milligrams | Allow the sample to reach room temperature in a desiccator |
The phrase "I've always done it this way and it works out" is no argument here: two matching results in a row don't mean the method is within tolerance. The only check is a series of 10 weighings of a control weight and calculating the standard deviation.
Another habit is using volumetric glassware without considering its class. If the method requires a specific accuracy class, glassware of the same volume but a lower class adds its own contribution to the total error. For standard solutions, use Class A and B volumetric glassware as specified in the method.
Checklist: test your balance in 15 minutes
You can perform this set of actions without a calibration laboratory and determine whether the instrument meets its stated specifications at your workplace.
- Place the balance on a sturdy table free from shaking and drafts, level it (bubble in the center).
- Turn on the instrument and let it warm up for 30–60 minutes — after power-up the sensor drifts more than usual.
- Run the internal calibration if available in the menu and record the result.
- Take a weight close to your working sample mass and weigh it 10 times in a row, zeroing between weighings.
- Calculate the standard deviation using the formula: square root of the sum of squared deviations divided by (n − 1).
- Divide this value by the allowed relative error of your method and compare with your working sample weight.
The norm is when the resulting minimum weight is at least 1.5–2 times less than the mass you typically take. Such a margin compensates for seasonal temperature changes and sensor wear. If the margin is smaller, it's reasonable to switch to a higher-class balance or revise the method.
Where to look in the documentation: datasheet, certificate, report
The minimum sample weight is not estimated "by eye" — it is taken from the instrument's documents. In the balance datasheet, look for the specifications table: it lists repeatability (standard deviation) and minimum sample weight, often tied to the accuracy class. The verification certificate reflects actual values on the test date — they may differ from the datasheet for better or worse.
If the balance has been calibrated in a laboratory, request the report: it records the conditions (temperature, humidity), weights used, and the resulting uncertainty. This data will be useful for method accreditation and internal audits. For GMP manufacturing and accredited laboratories, the minimum sample weight is additionally fixed in an SOP — which also specifies how often it is reviewed, usually annually or after repair.
A practical guideline: if the documents state a minimum sample weight of 20 mg and you regularly work with 15 mg, the method is formally not supported — you need a record of corrective actions, not a "verbal agreement" with a colleague.
What matters more when choosing a balance: readability or repeatability
Advertising catalogs put readability first because it's easier to compare. Repeatability is more often hidden in the specifications table in small print. For minimum sample weight, repeatability is decisive; readability only needs to be finer than that.
Guideline: in good analytical balances, repeatability at low load is roughly half the scale interval or less. If the stated repeatability is greater than the readability, the instrument displays digits more precisely than it actually measures, and the last digit should not be trusted.
- Request repeatability specifications at a load close to your working range.
- Clarify the conditions under which repeatability is specified: temperature, humidity, vibrations.
- Check which accuracy class is assigned to the instrument according to GOST OIML R 76-1.
- Compare price with repeatability margin: a balance with a 2x margin less often needs replacement when moving to a more precise method.
Buying a balance "for future growth" based on readability is pointless if repeatability falls short. The price difference between models more often pays for sensor stability, not an extra digit on the display.
Frequently asked questions
What is minimum sample weight and how does it differ from readability?
Minimum sample weight is the smallest mass that can be weighed with the required accuracy according to the method. Readability is the step of readings on the display. The first value depends on repeatability and tolerance, the second on the indicator design, and they do not coincide.
How can I tell if I can weigh a 10 mg sample on this balance?
Compare the repeatability at a load around 10 mg with the method's tolerance. If the calculated minimum weight is less than 10 mg, the instrument is suitable. Verify this in practice with a series of weighings in your working room.
Why can the minimum sample weight change under different laboratory conditions?
Repeatability depends on vibrations, drafts, and temperature. With weak balance protection, scatter increases and the threshold rises. Moving the instrument to another room or a change of season alters the actual value.
Which balance should I choose if the method requires small samples?
Look at repeatability at your working load, not marketing specifications. For samples of a few to tens of milligrams, analytical balances with readability of 0.1 mg or less, installed with protection from external influences, are suitable.
How often is calibration and verification needed to keep the minimum sample weight reliable?
The frequency depends on workload intensity and industry requirements, and is fixed in the laboratory's schedule. Between calibrations, repeatability is confirmed by internal control with a check weight. After repair or relocation, verification is performed unscheduled.
Minimum sample weight is a calculated value that must be linked to the method and working conditions. Start with a control series of weighings and compare repeatability with the tolerance. The specialists at LPS UZ will help you select a balance for your samples, perform calibration and verification, and prepare the calculation of minimum sample weight for your laboratory's working conditions.