 Weighing
Pharmacopoeial Requirements for Laboratory Balances

Pharmacopoeial requirements for laboratory balances are often treated as a formality—as if buying an analytical balance and having it verified periodically is enough. In practice, failure to comply with pharmacopoeial standards leads to unreliable test results and, in the pharmaceutical industry, to batch recalls or audit failures. This article explains exactly what the pharmacopoeia requires, how to choose a balance, and how to install, calibrate, and verify it correctly to avoid common mistakes.
Pharmacopoeial Requirements for Laboratory Balances: What the Inspector Will Check
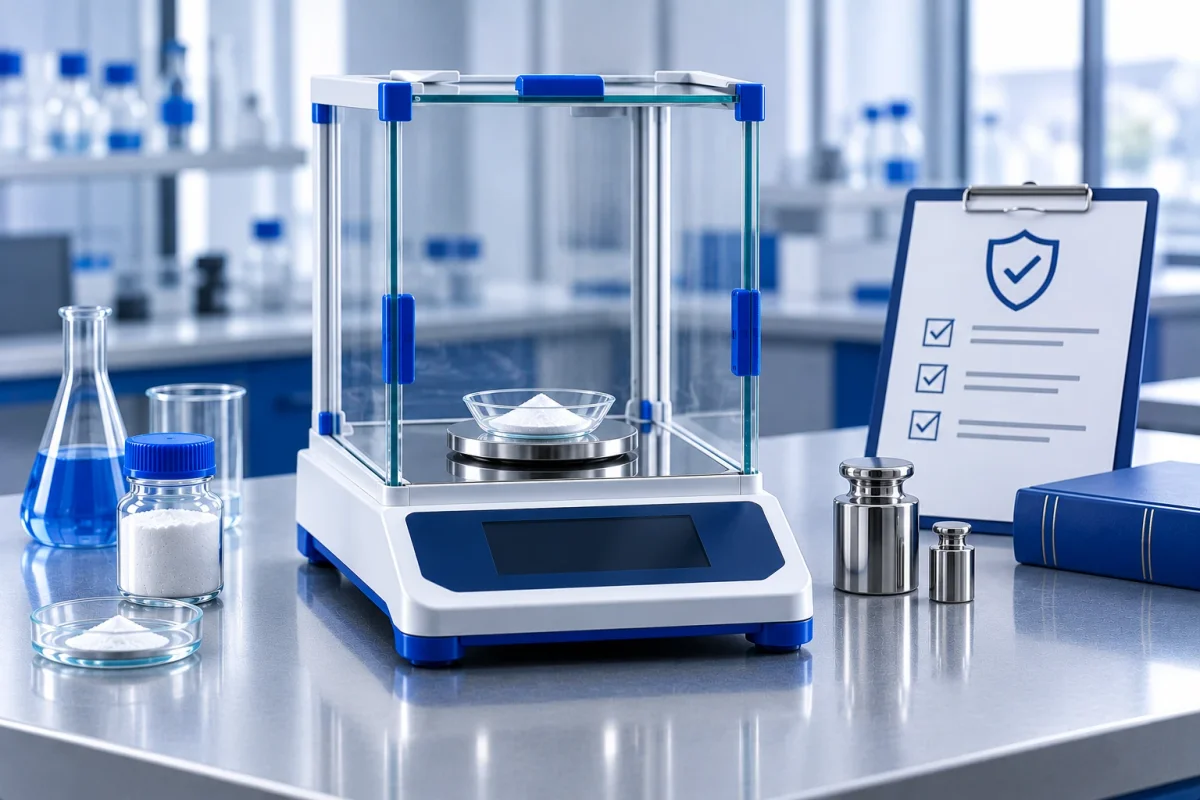
Pharmacopoeial requirements for laboratory balances are assessed not by whether a balance sits on the bench, but by the documentation surrounding it. The inspector will open the verification log, the instrument passport, the qualification protocol, and the daily check records. If any of these are missing, the balance is considered unfit for testing—even if it is fully functional. Assemble the complete package in advance: preparation takes 2–3 weeks if some documents are lost.
Keep current copies in a separate folder. Store originals where they can be produced on demand, not in the manager's safe.
- A valid verification certificate for the balance. For Class I and II special-accuracy balances, the interval between verifications is typically 1 year; check the type description for your specific model.
- Passport and operating manual with a serial number matching the nameplate on the housing.
- IQ OQ PQ qualification protocols: installation (IQ), operational (OQ), and performance (PQ). For balances purchased for pharmacopoeial testing, PQ is performed on-site with actual weights.
- Daily balance check log: date, time, reading on the check weight, room temperature, signature.
- Certificates for verification weights with traceability to the national standard.
- SOP for balance operation: who has access, how results are recorded, and what to do in case of deviation.
Cross-check the serial number across three sources: housing, passport, and verification certificate. A discrepancy in even one character turns the instrument into unaccounted equipment, and the inspector may require an unscheduled verification.
Common Mistakes in Pharmaceutical Laboratories When Using Balances
Most inspector findings are not about instrument failure but about how work around it is organized. Below are the most frequent mistakes, their consequences, and how to address them. Installation of laboratory balances deserves special mention: half of all failures stem from improper placement.
| Mistake | Risk | How to Avoid |
|---|---|---|
| Balance placed near a fume hood or air conditioner | Reading drift, unstable zero, failed repeatability test | Use a separate anti-vibration table away from air currents |
| Weighing samples below the minimum weight limit | Weighing error exceeds pharmacopoeial tolerance; test results unreliable | Calculate minimum sample weight from the specified repeatability and fix the value in the SOP |
| Verification done, but calibration and qualification not | Formal non-compliance: instrument in use without confirmed suitability | Perform IQ/OQ/PQ at installation; calibrate on schedule |
| Log filled in retroactively | Date discrepancies with protocols and invoices; distrust of all documentation | Record at the time of operation, sign and date immediately |
| Ignoring air buoyancy correction | Systematic error when weighing substances with density close to 1 g/cm³ | Apply the correction factor or weigh with consideration of sample density |
The first two mistakes can be fixed in a day: move the balance to a stable surface and recalculate the minimum sample weight. The rest require procedural adjustments, but they account for the bulk of inspection findings.
Practical Example: How a Laboratory Closed a Balance-Related Non-Compliance
Consider a typical situation. A quality control laboratory uses an analytical balance with 0.1 mg readability. An internal audit found that results for two drug batches deviated from the method validation data by 0.4%. The instrument was verified and appeared functional.
What was checked and found:
- Reviewed the daily check log: the repeatability test had last been performed three weeks earlier, and there were no calibration records.
- Measured the minimum sample weight: according to the passport, repeatability is 0.1 mg at 5% (2s), meaning the minimum weight limit is about 20 mg. In practice, samples of 8–10 mg were being weighed.
- Inspected the balance installation site: the instrument stood on a laboratory bench near a door, and the reading drifted every time the door opened.
Actions taken: moved the balance to an anti-vibration table in a separate room, performed qualification (IQ OQ PQ) with protocols, introduced a minimum sample weight of 20 mg and a daily check with a control weight into the SOP. A month later, the two batches were re-analyzed: the deviation from validation dropped to 0.1%, within the acceptance criterion.
Takeaway for similar situations: if results are unstable on a functional, verified instrument, start with the installation site and sample size, not with repair. These two factors account for the largest share of errors and can be checked without equipment.
Balance Accuracy Classes and What They Mean for Your Task
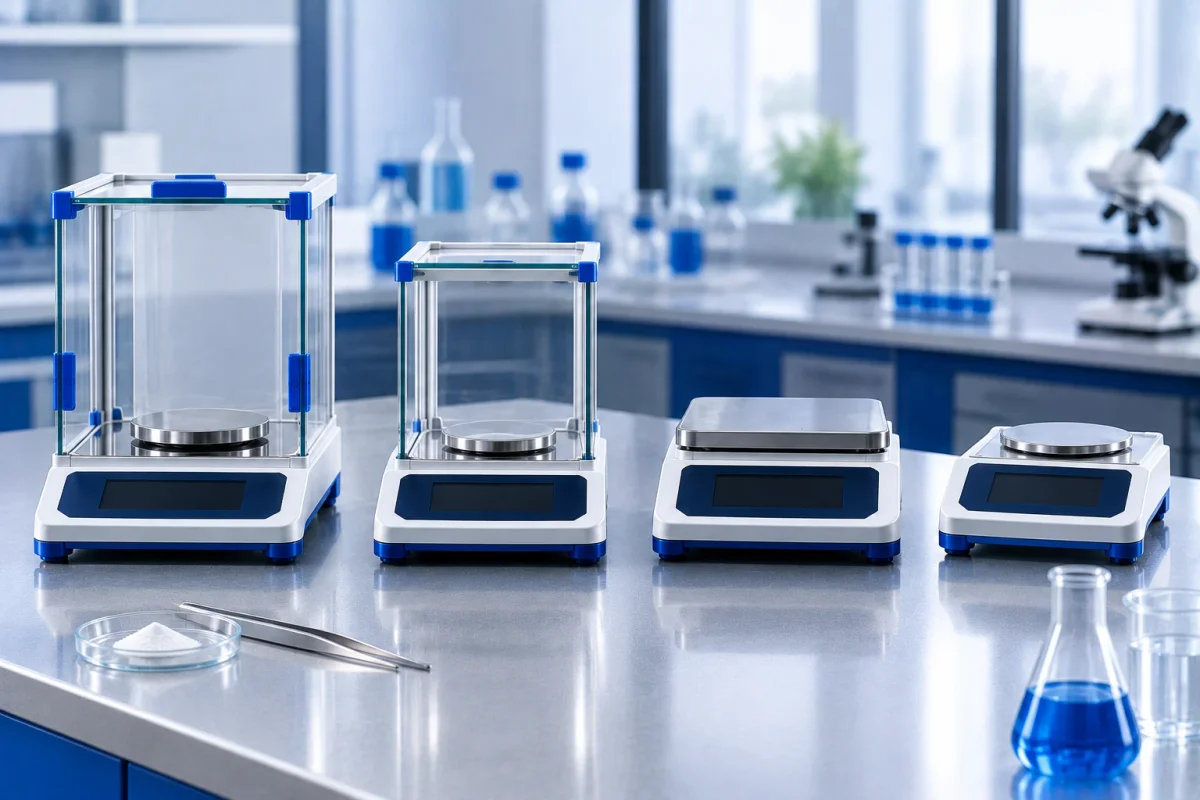
The pharmacopoeia uses the term "balance accuracy class," but in practice laboratories select balances by readability and maximum capacity. The gap between these concepts causes most problems in method validation. Analytical balances in the pharmaceutical industry with 0.1 mg readability and 220 g maximum capacity are suitable for samples of 20 mg and above: below this threshold, relative error exceeds the permissible limit.
Follow the rule: the minimum sample weight should be at least 20 times the readability (for weighing to 0.1% accuracy) or 100 times (for 0.01%). If a method requires a 5 mg sample on a balance with 0.1 mg readability, you are outside pharmacopoeial accuracy limits. The solution is either a balance with 0.01 mg readability or a revised method with a larger sample. For a pharmaceutical laboratory, choose a capacity margin of 1.5 times the maximum sample weight.
| Readability | Reasonable Minimum Sample Weight | Typical Task | Maximum Capacity |
|---|---|---|---|
| 1 mg | 100 mg at 0.1% | Weighing excipients | 1–5 kg |
| 0.1 mg | 20 mg at 0.1% | Active substances, reference standards | 100–320 g |
| 0.01 mg | 2 mg at 0.1% | Microsamples, method validation | 20–80 g |
Check the instrument passport: it specifies repeatability (SD) and linearity. For Class I accuracy, repeatability at low load should not exceed 0.5 readability. If the passport states 1 readability, the instrument is formally functional but should not be used for pharmacopoeial test methods without revising the minimum sample weight. You can browse balances for pharmaceutical laboratories by accuracy class and capacity.
How to Prepare a Balance for Verification to Avoid Paying Twice
Verification is performed on schedule, and a deviation in any parameter means a repeat visit at additional cost. Preparation takes 2–3 hours and minimizes the risk of failed verification. Start with a visual inspection: a dirty pan, chips on the level, cracks in the draft shield glass—all should be addressed before the verifier arrives.
Run the instrument with check weights 1–2 days before verification. Results must be within tolerance: for analytical balances, deviation no more than 0.5 readability across the working load range. Weights must be verified and stored in their case; an expired weight certificate will be recorded as a non-compliance.
- Level the balance in the room where it operates 24 hours before verification.
- Turn on the instrument at least 30–60 minutes before the procedure: thermal stabilization affects readings.
- Prepare the verification log, passport, previous verification certificate, and weight certificates.
- Remove sources of vibration and drafts from the bench: fans, compressors, open windows.
The cost of accredited balance verification in Uzbekistan typically consists of a base rate per instrument (150,000–400,000 UZS) plus a specialist visit fee. A repeat visit due to instrument unpreparedness is charged separately, so preparation pays for itself the first time. If the instrument was previously deregistered, accredited verification of laboratory balances will require a complete set of documents anew.
How to Keep a Daily Balance Check Log That Satisfies the Inspector
The weighing log is the first document the inspector opens after the balance passport. The pharmacopoeia does not mandate a rigid format, but three things must be verifiable: who weighed, on what, and when. A page with the date, operator name and signature, balance number, and control weighing result answers most questions.
Minimum fields per day: date, start-of-shift time, readings of the internal weight or external control mass, actual value, permissible deviation, signature. If the balance is connected to software, an electronic log is accepted provided that entries cannot be edited retroactively and the change history is preserved.
Review last month's log against three points. Are there gaps on working days? Do signatures match employees authorized by order? Are control weighing results recorded as numbers, not just "OK"? A one-day gap with operating equipment is interpreted by the inspector as lack of control, even if the balance is functional. The daily balance check log is also reviewed during laboratory equipment audits.
Keep the log for at least the period established by the laboratory's internal regulations, which usually matches the retention period for analytical protocols. Back up electronic records monthly: when software changes, old data often becomes inaccessible.
What to Do If the Balance Fails the Control Weighing
A deviation beyond tolerance does not always mean a breakdown. Divide the causes into three groups: external conditions, work organization, and the instrument itself. Eliminate the first two first—they account for more than half of failures and do not require a service call.
| Symptom | Probable Cause | Action |
|---|---|---|
| Readings drift by 0.2–0.5 mg | Draft, air conditioner, vibration from a centrifuge | Relocate the balance or shut off airflow, repeat the check |
| Zero drift after each weighing | Static electricity on glassware | Use an anti-static kit, let glassware equilibrate near the balance |
| Variability in repeated weighings of the same mass | Not warmed up after power-on | Allow 30–60 minutes warm-up, then repeat |
| Error during internal weight calibration | Adjustment off or weight worn | Call service; do not adjust yourself |
| Deviation is stable and repeatable | Instrument out of tolerance | Suspend use, document in an act, send for repair and unscheduled verification |
After repair or adjustment, the balance must be re-verified: the previous certificate is invalid for a repaired instrument. Plan this in advance to avoid halting quality control for 3–7 days: arrange a backup balance or outsource analyses to another laboratory during repair.
Document every deviation in a separate act: date, readings, what was checked, who made the decision. Such a document shows the inspector that you manage the process rather than just catching failures.
Checks the Pharmacist Performs Personally
Annual verification does not replace daily checks. Pharmacopoeial standards for balances require confirming instrument functionality before starting work. Five minutes in the morning is cheaper than redoing a batch of analyses in the evening. Below are checks that can be done in a regular laboratory without calling a metrologist.
| What to Do | With What | Acceptance Criterion |
|---|---|---|
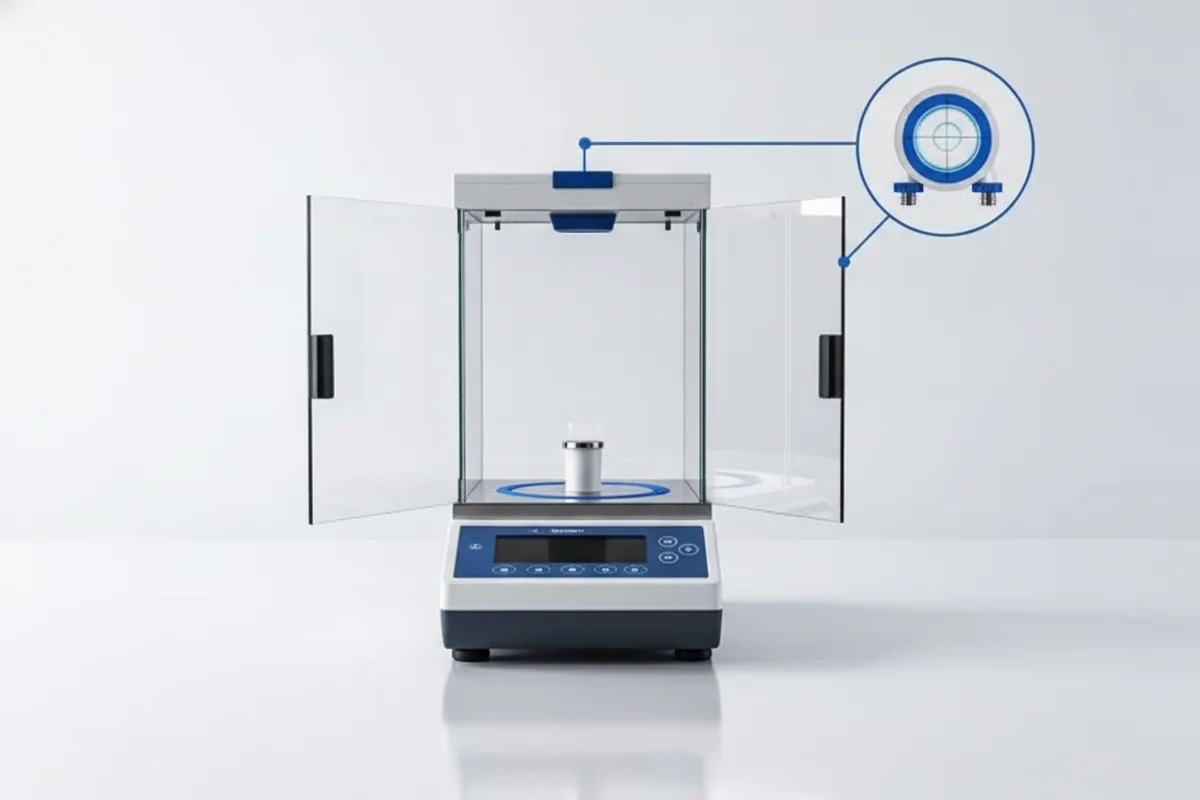
| Check level and horizon | Bubble level on the housing | Bubble centered in the circle |
| Turn on and warm up | Stability indicator | Readings stable 30–60 minutes after power-on |
| Zero without load | TARE button | Zero holds; drift no more than 2–3 units in the last digit |
| Weigh a control weight | Weight of class not lower than balance accuracy | Deviation within passport tolerance, typically ±0.5–1.0 e |
| Repeat weighing 3 times | Same weight | Spread between readings does not increase from one to the next |
Record the result of each step. A log without numbers, with only "OK," will not be accepted by the inspector: specific readings are needed to see drift trends.
Place the weight in the center of the pan, not at the edge. A load shift of 10–20 mm toward the edge on an analytical balance causes a noticeable error due to imperfect pan rigidity. Check this once: weigh the weight in the center and at the edge; the difference must not exceed the passport tolerance.
If drift appears in the morning after a weekend, don't rush to blame the balance. Check the temperature log: a 3–5 °C swing in the room overnight produces exactly this symptom. Stabilize the climate and repeat the check in an hour.
How to Choose Calibration Weights and Store Them Properly
Calibration weights are just as much a metrological instrument as the balance itself, and their condition directly affects your QC results. For analytical balances with a readability of 0.1 mg, use class E2 or F1 weights: their error is an order of magnitude smaller than the balance's tolerance. An M1-class weight is only suitable for process balances with 1 g readability or coarser.
Choose the weight set to match your working sample range. If you weigh from 20 mg to 200 g, you need a set whose nominal values cover that interval: 1, 2, 5, 10, 20, 50, 100, 200 g. There's no need to buy the whole series up to a kilogram — extra weights only increase the scope of verification and the risk of damage.
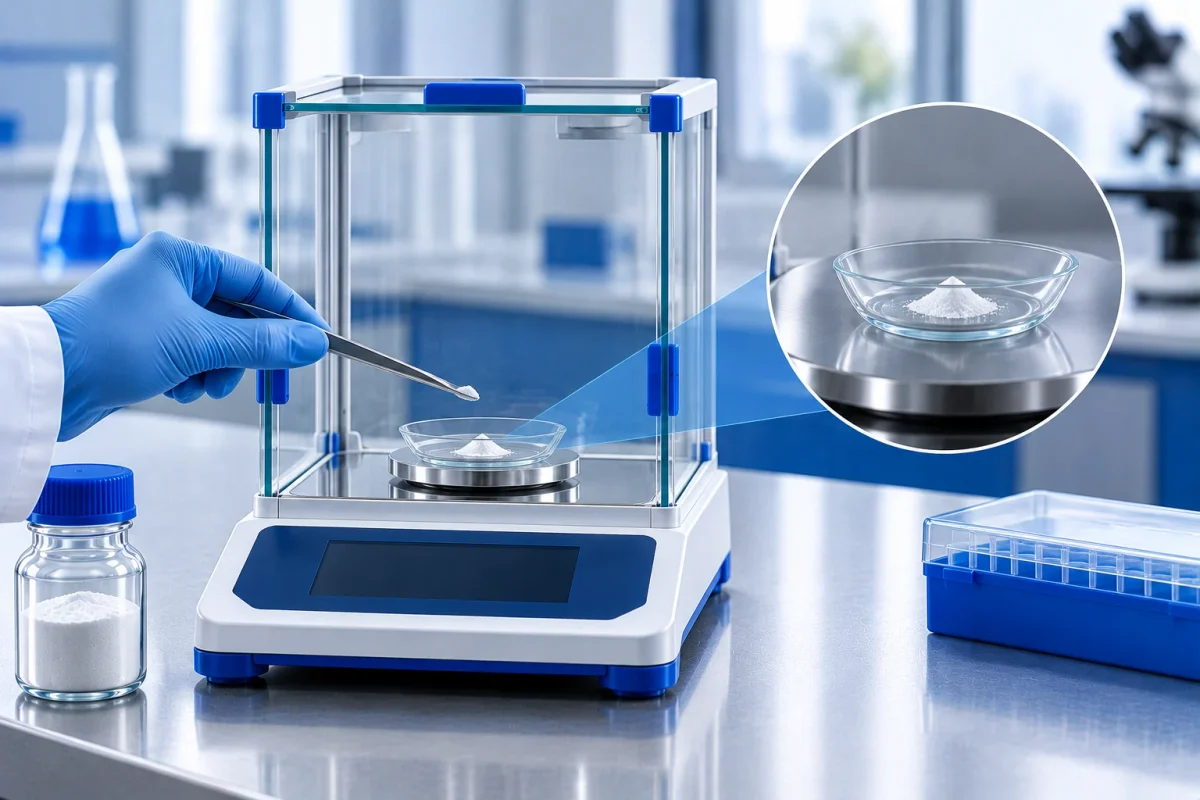
Store the weights in a closed case with fitted recesses, away from reagents. Handle them with tweezers or gloves: fingerprints add tenths of a milligram. Once a year the weights are verified either together with the balance or separately, and the certificate is filed with the balance's logbook. Spare parts and accessories for balances, including weights and draft shields, are selected to match the instrument model.
Check each weight for visual defects: corrosion, chips, scuffs. Any surface damage changes the mass, and the weight is taken out of the set until it is re-verified.
Installing a Laboratory Balance: Room and Bench Requirements
Installing a laboratory balance starts with choosing the room, not with unpacking the instrument. Pharmacopoeia requirements for operating conditions refer to the datasheet: analytical balances typically need 20 ± 5 °C and 45–60% humidity with no condensation. Straying outside these limits causes zero drift and increased weighing error.
The location must be away from vibration sources: centrifuges, pumps, compressors, doors to the outside. The minimum distance is 3–5 m or a separate room. Direct sunlight and air currents from an air conditioner are also unacceptable: they heat the housing unevenly.
- Use an anti-vibration or a massive laboratory bench anchored to the floor. An ordinary office desk on casters won't do.
- Keep a grounded outlet nearby, without extension cords or splitters: voltage spikes disrupt the electronics.
- Set aside a separate shelf or cabinet for weights and glassware in the same room so you don't have to carry them down the corridor.
After moving the balance, give it 24 hours to acclimatize and only then switch it on. Do the first check weighing the next day: that way you'll see the instrument has reached its operating mode. If the lab is relocating, it helps to draw up a plan for general laboratory equipment with the balance's installation points marked.
IQ OQ PQ Balance Qualification: What Each Stage Involves
IQ OQ PQ qualification confirms that the instrument is fit for the lab's specific tasks. The stages follow a strict order, and skipping one invalidates the next.
| Stage | What is checked | Output document | Duration |
|---|---|---|---|
| IQ (installation) | Completeness, serial number, installation site, power supply | Installation protocol | 1 day |
| OQ (operation) | Repeatability, linearity, accuracy across the working range | Test protocol | 1–2 days |
| PQ (performance) | Running real samples according to the lab's method | Suitability protocol | 2–5 days |
OQ is performed with calibration weights; PQ with real samples and glassware that the lab actually uses. For PQ, take three to five samples of different masses, including the minimum sample per the SOP. Compare the results against the suitability criteria in the method.
Repeat qualification after repair, relocation of the instrument, or a change of method. If the balance stays in one place and runs a single method, a one-time qualification at commissioning plus scheduled calibration is enough. For a laboratory equipment audit, keep the protocols in the same folder as the balance's verification certificate.
Balance Suitability for Testing: How to Calculate It for Your Method
Balance suitability for testing is determined not by the datasheet but by the specific analytical method. The same instrument may be suitable for one task and unsuitable for another. The calculation takes half an hour but eliminates the risk of redoing a whole batch.
Take the required weighing accuracy from the method, for example 0.1%. Divide the minimum sample by that accuracy and compare the result with the balance's specified repeatability. If the calculated error is smaller than the specified repeatability, the balance is suitable. For a 50 mg sample and 0.1% accuracy, the allowable error is 0.05 mg: a balance with 0.1 mg repeatability is no longer suitable, and you need a model with 0.01 mg readability.
Factor in weighing error from external influences: static, temperature, humidity. The datasheet usually specifies the operating range, and going outside it increases the error two- to threefold. Document the calculation in your balance SOP so every employee sees the instrument's limits of applicability.
Frequently Asked Questions
What is the difference between balance calibration and verification?
Calibration of a laboratory balance determines the actual error and records it in a protocol, but it does not give you the legal right to rely on the results. Verification officially confirms that the instrument complies with its type description and is documented with a certificate. Pharmacopoeia testing requires both procedures: verification on schedule, calibration per the lab's regulations.
How often should laboratory balances be checked on site?
Before every working day and after any relocation of the instrument. Additionally, after a temperature spike in the room, a repair, or a weight replacement. A daily check takes 5–10 minutes and is logged.
Can you do without IQ OQ PQ qualification?
When commissioning a balance for pharmacopoeia methods — no. Without IQ, OQ, and PQ protocols, there's nothing to confirm the instrument was suitable from day one. Many manufacturers supply protocol templates, while the work itself is done by a service team or a validation group.
What weighing error is considered acceptable?
For analytical balances, aim for no more than 0.5 of a readability increment across the working range and repeatability within the datasheet spec. The specific tolerance comes from the type description and is fixed in your internal SOP. Exceeding the tolerance is grounds to suspend operation.
Do you need an anti-vibration table for a balance?
Yes, if centrifuges, pumps, or an outside door are nearby. A table dampens vibrations and stabilizes the readings. For balances with 0.01 mg readability, an anti-vibration balance table is standard equipment.
Pharmacopoeia requirements for balances come down to one thing: the instrument must be backed by documents and proven in operation. Start with the logbook, the minimum sample, and the installation site — these steps address most findings. Our company supplies analytical balances and Akruss laboratory balances from leading manufacturers, assists with installation, verification, and IQ OQ PQ balance qualification, and will also select laboratory balances for your tasks and prepare the documentation.