 Labware
Borosilicate Glass 3.3 – Why Labware Is Made From It

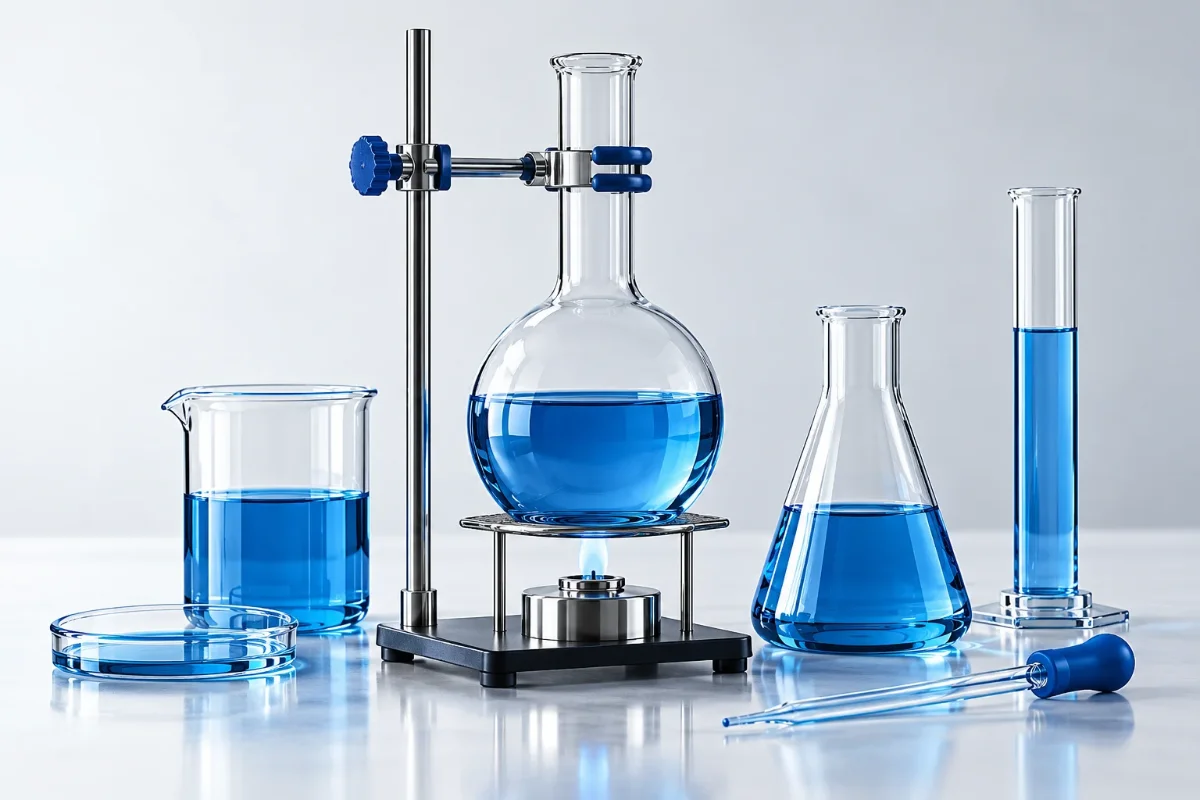
Borosilicate glass 3.3 isn't just a fancy name. The glass grade determines whether a flask can survive boiling, whether a graduated cylinder will hold its volume after autoclaving, and whether a beaker will crack under a sudden temperature change. Ordinary glass simply isn't up to these tasks.
In this article, we'll cover the composition and marking of 3.3, compare it with other glasses, and show how its properties affect measurement accuracy and the lifespan of your glassware. You'll get a receiving inspection checklist and care guidelines that extend service life. Borosilicate glass labware appears in almost every method—from titration to autoclaving.
Borosilicate Glass 3.3: What to Check When Receiving a Batch
A marking on the bottom of a flask proves little. This grade is rarely counterfeited, but mixed batches do occur: some items were annealed with a faulty cycle, leaving internal stresses. Receiving inspection of borosilicate glass takes 10–15 minutes on site, no lab needed.
- Examine the bottom and ground joints against the light from a window. Small bubbles up to 1 mm are acceptable; striae (fibrous threads) and stones are not—they indicate poor melting.
- Squeeze the item in your hands and release: properly annealed glass has no 'clicks' or microcracks at the rim.
- Check the ground joints of glassware: a joint-to-joint connection should hold without grease and separate with a light twist. A play of more than 0.5 mm is a defect.
The quickest test for thermal shock resistance of borosilicate glass: heat a flask with 200 ml of water to boiling and immediately place it on a wet cold cloth. Glass marked 3.3 will withstand this; ordinary soda-lime glass will crack along the rim.
Mistakes That Make Expensive Glassware Crack
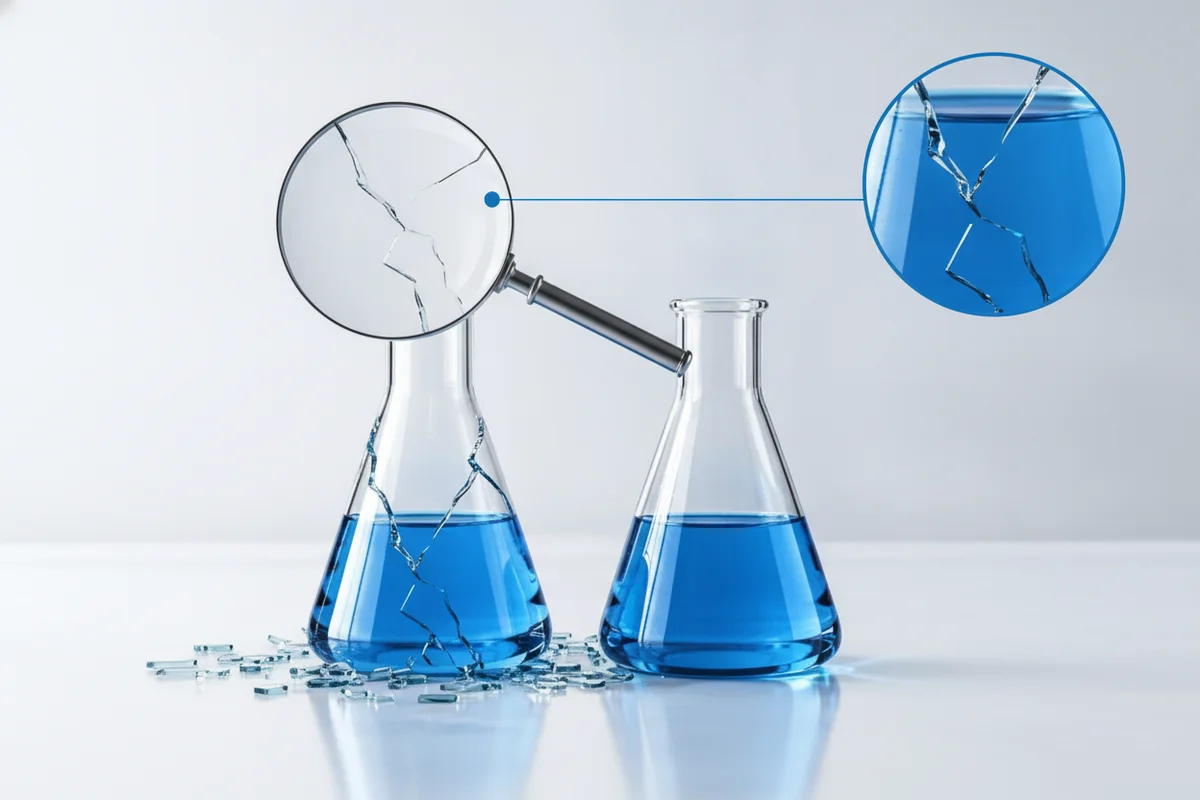
Most failures of chemical glassware in the lab are due to handling, not defects. Glass can withstand a temperature differential of up to 120 °C, but under mechanical stress the threshold halves.
| Mistake | Risk | How to avoid |
|---|---|---|
| Heating a flask over an open flame without a mesh | Local overheating, crack on the bottom | Use an asbestos mesh or sand bath |
| Washing hot glassware with cold water | Thermal shock, chipped rim | Let it cool to 60–80 °C, then wash |
| Storing ground joints without grease | Seizing, chipping when separating | Apply a thin layer of petroleum jelly before assembly |
| Drying in an oven at 200 °C | Accelerated aging, cloudiness | Dry at 100–120 °C for no more than 2 hours |
Regarding autoclaving glassware: steam exposure at 121 °C is safe, but a sudden pressure release after the cycle can cause an implosion inside the vessel. Release pressure gradually over 3–5 minutes.
How to Calculate How Much Glassware Your Lab Needs
Buying 'one of each size' leads to downtime: the flask is in the wash, and the analysis is on hold. The answer to how much glassware a lab needs starts not with the total inventory but with the peak load of a single working day. Take the sample log for the past month and find the day with the highest number of analyses.
Formula: (number of parallel analyses × share of glassware used in one cycle) + buffer for washing and drying. An autoclaving or distillation cycle typically takes 2–4 hours, including cooling and washing. If glassware returns to service after 6 hours and a shift is 8 hours, one unit completes at most one full cycle per day. So for 12 parallel samples, you need 12 working units plus reserve.
Calculate the reserve separately: 10–15% of the working stock for breakage and wear, plus another 5% for glassware in calibration. For a lab with 40 flasks in circulation, that's 44–48 pieces to purchase.
| Item | Cycles per shift | Reserve | Total for 20 samples |
|---|---|---|---|
| Erlenmeyer flask 250 ml | 1 | +15% | 23 pcs. |
| Low beaker 100 ml | 2 | +10% | 11 pcs. |
| Graduated cylinder 100 ml | 3 | +5% | 7 pcs. |
| Test tube 16×150 mm | 1 | +20% | 24 pcs. |
Plug in your own cycle numbers: they depend on how quickly your glassware is freed up. Volumetric glassware maintains measurement accuracy only with intact graduations, so cylinders are rarely heated and turn over faster than flasks. Test tubes break more often during washing, hence the higher reserve. Accuracy classes are covered in the article on Class A and B volumetric glassware.
What Should Be in the Batch Certificate and Invoices
During receiving, people focus on the glass and put documents aside 'for later.' But during an internal audit or lab accreditation, it's the paperwork that proves the glassware is suitable for the method. Request the document package from the supplier before payment, not after.
- Certificate or declaration of conformity for the batch with number and date.
- Factory quality certificate: glass grade, borosilicate expansion coefficient (for 3.3 it is 3.3·10⁻⁶ K⁻¹), annealing date of the glassware.
- Packing list with item numbers and quantities by size.
- Warranty terms: what is covered, what is considered a defect, claim period.
Compare the grade in the certificate with the marking on the items. A discrepancy between the document and the flask bottom is grounds to return the entire batch without inspecting piece by piece. Keep certificates in yearly folders: during method validation, it's easier to prove the origin of the glassware.
Also clarify how the supplier will replace breakage during transport. The norm is replacement within 5–10 business days after a damage report drawn up upon unpacking.
Care for Laboratory Glassware: How to Wash Without Clouding
A cloudy film on flasks and cylinders appears after 2–3 months of improper washing. Borosilicate lab glass is resistant to acids and alkalis, but hot concentrated alkali solution leaches the surface, and it loses clarity. You can't restore the shine, and along with clarity goes accuracy in reading the meniscus.
The procedure that makes glassware last for years:
- Rinse the item with warm water (40–50 °C) immediately after use, before residues dry.
- Soak for 15–30 minutes in a mildly alkaline detergent with pH 8–10. Do not use concentrated alkali or chromic acid for daily washing.
- Scrub with a soft brush. Metal brushes and abrasive powders leave micro scratches where reagents accumulate.
- Rinse with distilled water and dry in an oven at 80–100 °C.
DIY check: drop water on the dry wall of a flask and tilt. On clean glass, the drop rolls off evenly without a spreading trail. If water smears in a film, a layer of salt or detergent remains on the surface. Another test before drying: pour 50 ml of distilled water, swirl, and measure conductivity. An increase of more than 2–3 µS/cm relative to pure water indicates poor washing.
| Contamination | What to wash with | What to avoid |
|---|---|---|
| Salt, acid residues | Warm water, mildly alkaline detergent | Concentrated alkali |
| Organics, oils | Alcohol or acetone, then water | Prolonged soaking in organics |
| Titration residue | Diluted acid 5–10%, then rinse | Mixing acid and alkali in one bath |
| Film after autoclave | Distilled water, soft brush | Abrasive powders and metal brushes |
Dry glassware upside down on a rack; do not stack wet flasks inside each other: water remains between the walls, and the next day leaves a streak. Store volumetric glassware separately from reaction glassware to avoid confusion during rushed work.
What to Do If Glassware Does Break
A broken flask in a fume hood is not just a financial loss. Shards are sharp, and they carry residues of the medium you were working with. First, move people away from the hood, turn off heating and ventilation, put on goggles and gloves.
Then follow these steps:
- Pick up large shards with tongs or a scoop, not by hand.
- Remove small fragments with a wet wipe or sticky tape, then wipe the surface.
- If acid or alkali spilled, neutralize: baking soda for acid, diluted acid for alkali. Then rinse with water.
- Record the incident in the log: date, item, conditions under which it broke.
The breakage log helps identify the cause. Three identical flasks from the same batch cracking within a month is grounds for a claim to the supplier or a check of the annealing regimen for the glassware. A single break after rapid cooling is a work error, not a defect.
| Symptom | Probable cause | What to do |
|---|---|---|
| Crack on the bottom after heating | Sudden temperature change | Check heating and cooling regimen |
| Chip on the rim | Impact during storage or washing | Inspect storage location, add padding |
| Break without external cause | Improper annealing of the batch | Draw up a report, present to supplier |
| Cloudiness with cracks | Prolonged contact with alkali | Revise washing procedure |
Do not glue cracked volumetric glassware or use it under vacuum. A microcrack expands with each heating cycle, and the next failure will occur at the worst possible moment. Replace the discarded item from the reserve: keep 10–15% of the working stock in the warehouse.
How to Store and Transport Glassware Without Breakage
Loss statistics in labs come not from autoclaves but from shelves and carts. Glass can handle 120 °C temperature differential but not a bump against a sink edge or the pressure of stacked flasks. Proper warehouse organization reduces breakage significantly—typically by 2–3 times compared to 'whatever' storage.
Basic rule: glassware is stored upside down on a shelf with a lip, in a single row by height. Do not place 1000 ml flasks under 250 ml flasks: the weight of the top row transfers to the neck of the bottom one, and a microcrack will appear a month later at the first heating.
- Padding between tiers: 5–10 mm polyethylene foam or two layers of corrugated cardboard.
- Spacing between items: at least 10 mm so they don't knock together when taken off the shelf.
- Shelves no higher than 1.7 m: items on the top tier are taken less often, and dust settles there, which is later washed off with abrasives.
- Transport within the building only in closed trays with compartments, not on an open cart through the corridor.
| Storage condition | Risk | How to organize |
|---|---|---|
| Stack of flasks 3+ tiers high | Cracks on the neck, chipped joints | Single row by height |
| Shelf by the window | UV aging, local overheating | Curtains or blinds |
| Storage with metal items | Impacts and scratches during handling | Separate section |
| Humid room | Mold on joints, swollen stoppers | Humidity 40–60% |
When transporting between buildings or to another lab, use original packaging with compartments. If unavailable: wrap each item in two layers of bubble wrap, fill voids in the box with paper, label 'Glass, this side up.' Do not place the box on its side: ground necks chip first under lateral load.
What a Mistake in Glassware Class Costs and Where to Save Without Risk
The price difference between grade 3.3 and soda-lime for one flask is small—for 250 ml, it's about a 30–50% premium. But saving on class leads to re-purchasing and failed analyses. Let's calculate using a lab that prepares 40 samples per day and uses 60 flasks of 250 ml.
A 250 ml flask made of 3.3 costs roughly 400–600 rubles, soda-lime—250–350. For a stock of 60 pieces, the purchase difference is 9,000–15,000 rubles. Meanwhile, soda-lime glass clouds after 8–10 cycles of boiling and alkaline washing, and with a temperature differential over 60–70 °C it may crack right in the bath. Replacing half the stock in a year and one failed sample series will eat up those savings with interest.
| Cost item | Glass 3.3 | Soda-lime |
|---|---|---|
| Price of 250 ml flask | 400–600 ₽ | 250–350 ₽ |
| Service life under boiling | 300+ cycles | 50–100 cycles |
| Temperature differential | up to 120 °C | up to 60–70 °C |
| Cloudiness after a year | None | Appears |
Where you can't save: volumetric glassware for quantitative analysis, flasks for autoclave and vacuum filtration, any contact with hot alkali. Where you can: auxiliary waste containers, funnels for dry reagents, glassware for sample preparation without heating.
The thermal shock resistance of borosilicate glass shows up in these cycles: the more often you heat and cool an item, the more noticeable the difference from soda-lime. For methods involving heating, choose 3.3; for cold auxiliary operations, ordinary glass will do.
Frequently Asked Questions
How can you tell glass 3.3 from ordinary glass by appearance?
By the marking on the bottom and the color of the cut: 3.3 has a faint greenish tint, soda-lime has a more noticeable one. The most accurate is the boiling test followed by cooling.
Can glassware made of 3.3 be used in a microwave?
Yes, provided the item has no metal components and no defects on the rim. Heating above 200 °C is not recommended, as the ground joints may deform.
How long does such glassware last?
With proper use, 5–7 years. Signs of wear include cloudiness, microcracks at the ground joints, and loss of graduation accuracy on volumetric glassware. Volumetric cylinders should be recalibrated after 3 years.
Does glass affect chemical analysis results?
It does if the glassware has become cloudy or if residue remains on the walls. Borosilicate glass 3.3 releases almost no ions into solution, which is why it is chosen for precise methods.
Where to get help selecting glassware
It's best to start selecting glassware by calculating your fleet and listing your methods: this way you won't overpay for extra items or be left without spares. Check with the supplier for batch certificates, breakage replacement terms, and the range of sizes available. The company helps you find laboratory glassware to buy for your needs, provides documents for the batch, and supports the delivery. For quantitative analysis, ask about the availability of volumetric glassware made of borosilicate and lead times that fit your schedule.
Calculate your fleet based on peak shift load, check the batch certificate before payment, and wash glassware without concentrated alkali — these three rules preserve measurement accuracy and save on replacement costs. The company will provide a consultation on selection, prepare a quote for the batch, and hand over a complete set of documents.